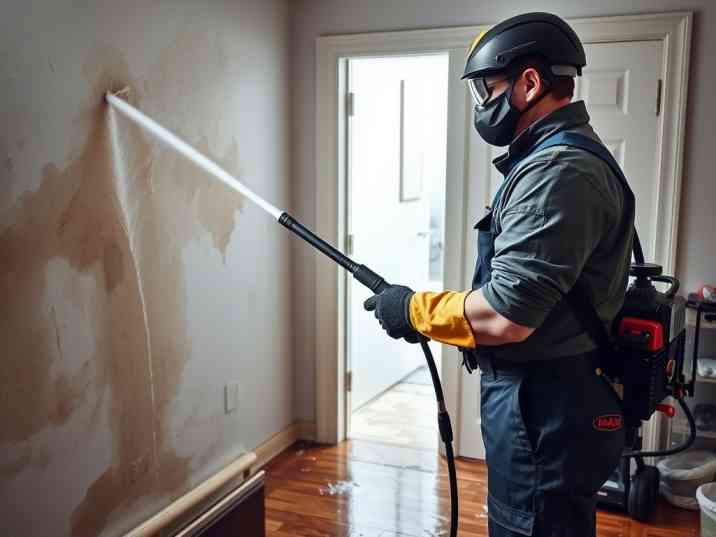
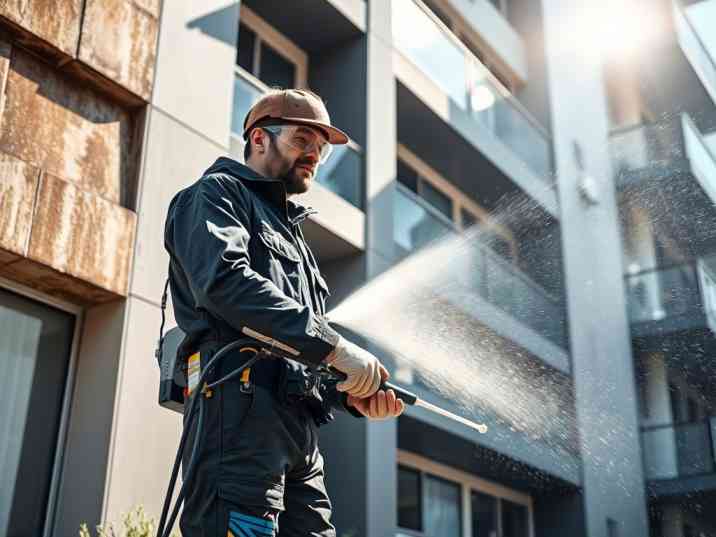
Power washing is one of the most effective ways to restore the appearance and cleanliness of your property’s exterior. Whether you’re preparing for a home sale, hosting an event, or simply maintaining your property, professional power washing can remove dirt, grime, mold, mildew, and other contaminants that accumulate over time. However, achieving optimal results requires more than just hiring a professional service—it also involves thorough preparation on your part. Properly preparing your property before a professional power wash ensures safety, protects sensitive areas, and maximizes the cleaning process. In this article, we’ll guide you through the essential steps to prepare your property for a successful power washing session.
Why Preparation Matters
While professional power washers are skilled and experienced, they rely on your cooperation to ensure the job is done efficiently and effectively. Failing to prepare your property can lead to unintended consequences, such as damaged surfaces, water infiltration, or harm to plants and outdoor furniture. By taking the time to prepare in advance, you not only protect your property but also help the professionals focus on delivering exceptional results without unnecessary interruptions.
Preparation also allows you to identify potential issues, such as loose paint, cracks, or areas requiring special attention. This proactive approach ensures that the power washing process enhances your property’s appearance while preserving its integrity.

Step 1: Clear the Area
The first step in preparing your property is to clear the area around the surfaces being cleaned. This minimizes the risk of damage to personal belongings and ensures unobstructed access for the power washer.
1. Remove Outdoor Furniture and Decorations
- Furniture: Move patio chairs, tables, umbrellas, and cushions indoors or store them in a safe location.
- Decorative Items: Remove planters, statues, wind chimes, and other decorative items that could be dislodged or damaged by high-pressure water.
- Grills and Equipment: Relocate barbecues, lawn mowers, and gardening tools away from the cleaning zone.
2. Clear Debris and Obstacles
- Sweep away leaves, twigs, and dirt from driveways, patios, and walkways.
- Remove any large objects, such as toys or tools, that may block access to the surfaces being cleaned.
By clearing the area, you allow the power washer to work efficiently and reduce the likelihood of accidents or damage.
Step 2: Protect Sensitive Areas
Certain parts of your property require extra protection during power washing to prevent water infiltration, staining, or other forms of damage.
1. Cover Windows and Doors
- Use plastic sheeting or waterproof tarps to cover windows and doors. Secure them with painter’s tape to create a watertight seal.
- Pay special attention to gaps around window frames and door thresholds, as high-pressure water can seep through these areas.
2. Shield Electrical Components
- Cover outdoor outlets, light fixtures, and HVAC units with waterproof covers or plastic bags.
- Ensure all electrical devices are turned off and unplugged to avoid electrical hazards.
3. Protect Landscaping
- Plants, shrubs, and flowers are vulnerable to detergent runoff and high-pressure water. Cover them with tarps or plastic sheets to shield them from potential harm.
- If possible, soak plants with clean water before and after the power wash to dilute any detergent residue.
4. Secure Loose Items
- Check for loose siding, shutters, or roof shingles that could be dislodged by the force of the water. Reinforce or remove these items if necessary.
- Tie down lightweight objects, such as garbage cans or potted plants, to prevent them from being moved by the water stream.
Step 3: Inspect and Address Surface Conditions
Before the power wash, inspect the surfaces to be cleaned and address any pre-existing issues that could affect the outcome.
1. Identify Problem Areas
- Walk around your property to locate areas with heavy stains, mold, mildew, or algae growth. Point these out to the power washing team so they can allocate additional time and resources to those spots.
- Look for signs of structural damage, such as cracks in concrete or peeling paint, and discuss repair options with the professionals.
2. Pre-Treat Stubborn Stains
- For oil stains on driveways or garage floors, apply a degreaser and let it sit for 10–15 minutes before the power wash.
- Use a bleach-based cleaner or oxygenated solution to pre-treat mold and mildew patches on siding or fences.
3. Test Paint and Sealants
- Gently test painted surfaces to ensure the paint is firmly adhered. If the paint is loose or flaking, consider scraping and repainting before the power wash.
- Check sealed surfaces, such as decks or patios, for signs of wear. Reapply sealant if necessary to prevent water absorption.
Step 4: Communicate with the Power Washing Team
Effective communication with the power washing professionals is crucial for ensuring the job meets your expectations.
1. Discuss Your Goals
- Clearly explain what you hope to achieve with the power wash, whether it’s removing specific stains, improving curb appeal, or preparing for a renovation project.
- Share any concerns about delicate surfaces or areas requiring special care.
2. Review Safety Protocols
- Confirm that the team follows safety guidelines, such as wearing protective gear and using appropriate pressure levels for different surfaces.
- Ask about their waste disposal practices to ensure compliance with environmental regulations.
3. Provide Access
- Ensure the power washing team has unrestricted access to water sources, electrical outlets (if needed), and the areas being cleaned.
- Inform them of any restricted zones or areas where caution is required.
Step 5: Plan for Post-Power Wash Cleanup
Once the power washing is complete, there are a few final steps to ensure your property looks its best.
1. Allow Surfaces to Dry
- Give cleaned surfaces adequate time to air dry before placing furniture or other items back in place. This reduces the risk of mold or mildew growth.
- Avoid walking on freshly cleaned surfaces until they are completely dry to prevent scuff marks.
2. Remove Protective Coverings
- Carefully take down tarps, plastic sheets, and painter’s tape to avoid scratching surfaces.
- Dispose of any debris or materials used during the preparation process.
3. Inspect the Results
- Walk around the property to ensure all areas have been cleaned to your satisfaction.
- Notify the power washing team immediately if touch-ups are needed.

Additional Tips for Success
To further enhance the effectiveness of the power washing process, consider the following tips:
1. Schedule During Favorable Weather
- Avoid scheduling power washing during extreme temperatures, as heat can cause detergents to evaporate too quickly, while cold weather may freeze water on surfaces.
- Choose a day with minimal wind to prevent detergent or water from drifting onto unintended areas.
2. Consider Eco-Friendly Options
- Request biodegradable cleaning agents to minimize environmental impact.
- Inquire about water recycling systems if available, especially for large-scale projects.
3. Document the Process
- Take “before” and “after” photos to track the transformation and showcase the results to potential buyers or clients if applicable.
Conclusion
Preparing your property before a professional power wash is a critical step that ensures safety, protects sensitive areas, and maximizes the effectiveness of the cleaning process. By clearing the area, protecting vulnerable surfaces, addressing pre-existing conditions, communicating with the power washing team, and planning for post-cleaning cleanup, you set the stage for a seamless and successful experience.
Investing time in preparation not only preserves the integrity of your property but also enhances the overall outcome of the power washing service. With proper planning and collaboration, you can enjoy a clean, refreshed exterior that boosts curb appeal, improves functionality, and adds value to your property.


