Maintaining the exterior of your home is essential for both aesthetic appeal and structural integrity. Over time, dirt, grime, mold, and mildew can accumulate on your siding, making it look dull and potentially causing damage. One of the most effective ways to restore your siding’s appearance is by using a power washer. However, power washing requires careful preparation and execution to avoid damaging your siding or injuring yourself. This step-by-step guide will walk you through the process of cleaning your siding with a power washer, ensuring professional results.
1. Gather the Necessary Equipment
Before you begin, it’s crucial to have the right tools and materials on hand. Here’s what you’ll need:
- Power Washer: Choose a power washer with adjustable pressure settings. For most siding materials, a pressure range of 1,200 to 2,400 PSI (pounds per square inch) is ideal. Too much pressure can damage the siding, while too little may not effectively clean it.
- Nozzles: Use a 25-degree or 40-degree nozzle for siding. These provide a wider spray pattern and are less likely to cause damage compared to a zero-degree nozzle, which delivers a concentrated stream of water.
- Cleaning Solution: Select a cleaning solution that is safe for your siding material. For vinyl siding, a mixture of water and mild detergent works well. For tougher stains, consider a specialized siding cleaner.
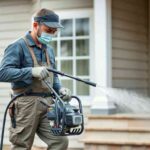
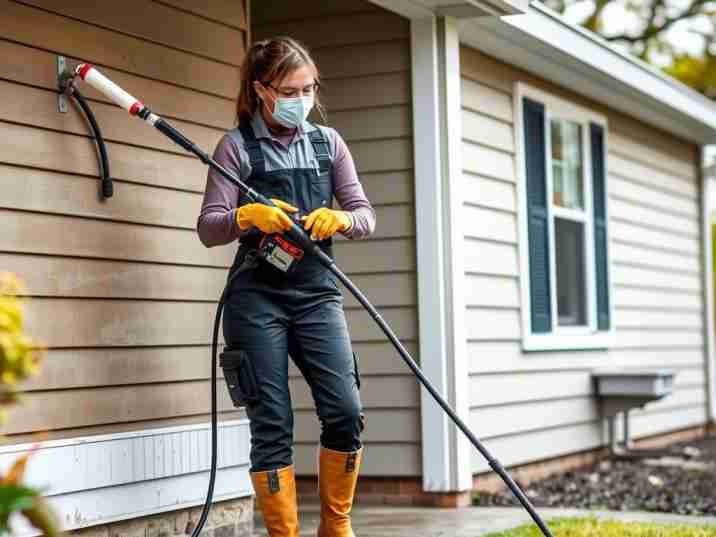
- Safety Gear: Wear safety goggles, gloves, and closed-toe shoes to protect yourself from debris and high-pressure water.
- Extension Wand: An extension wand will help you reach higher areas without straining.
- Soft-Bristle Brush: For stubborn stains, a soft-bristle brush can be used to scrub the surface gently.
- Garden Hose: You’ll need a garden hose to rinse the siding before and after power washing.
- Drop Cloths or Plastic Sheeting: Use these to protect plants, windows, and outdoor furniture from cleaning solutions and debris.
2. Inspect the Siding
Before you start power washing, inspect your siding for any damage, such as cracks, loose panels, or areas where paint is peeling. Power washing can exacerbate these issues, so it’s important to address them beforehand. If you notice significant damage, consider consulting a professional for repairs.
Additionally, check for areas with heavy mold or mildew growth. These spots may require pre-treatment with a cleaning solution to ensure they are thoroughly cleaned.
3. Prepare the Area
Proper preparation is key to a successful power washing project. Follow these steps to protect your property and ensure a smooth cleaning process:
- Clear the Area: Remove any outdoor furniture, decorations, or obstacles near the siding.
- Cover Plants and Shrubs: Use drop cloths or plastic sheeting to cover plants and shrubs near the siding. This will protect them from the cleaning solution and high-pressure water.
- Close Windows and Doors: Ensure all windows and doors are tightly closed to prevent water from entering your home.
- Turn Off Outdoor Electronics: If you have outdoor lights, outlets, or other electronics near the siding, turn them off to avoid electrical hazards.
4. Pre-Treat Stains and Mold
For areas with heavy stains, mold, or mildew, pre-treating is essential. Apply a cleaning solution to the affected areas using a garden sprayer or a soft-bristle brush. Allow the solution to sit for 5–10 minutes to break down the grime. Avoid using bleach-based cleaners on colored siding, as they can cause discoloration.
5. Set Up the Power Washer
Once the area is prepared, set up your power washer according to the manufacturer’s instructions. Fill the detergent tank with the appropriate cleaning solution, and attach the desired nozzle. Start with a lower pressure setting and gradually increase it if necessary. Always test the pressure on a small, inconspicuous area of the siding to ensure it won’t cause damage.
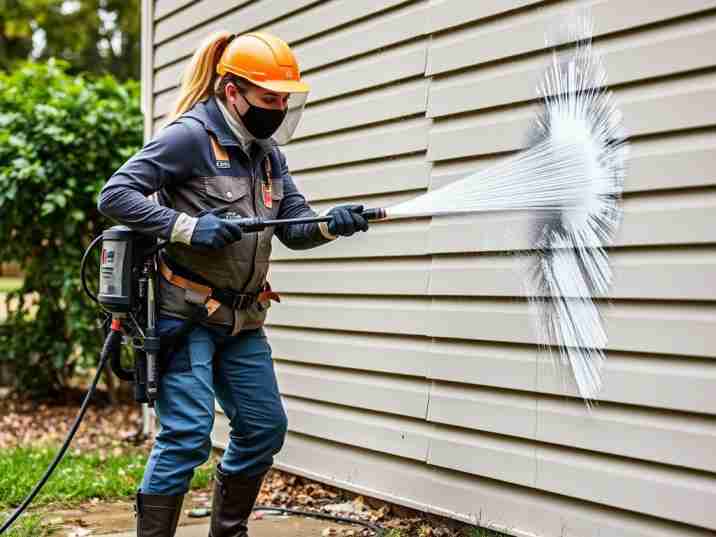
6. Begin Power Washing
When you’re ready to start power washing, follow these steps for optimal results:
- Work from the Bottom Up: Start at the bottom of the siding and work your way up. This prevents streaking and ensures that dirt and debris are washed downward.
- Maintain a Consistent Distance: Hold the power washer nozzle 12–18 inches away from the siding. Moving closer can damage the material, while moving farther away may reduce cleaning effectiveness.
- Use Even Strokes: Move the nozzle in smooth, horizontal strokes to evenly clean the surface. Avoid holding the nozzle in one spot for too long, as this can cause damage.
- Overlap Each Pass: Slightly overlap each stroke to ensure complete coverage and avoid missing any spots.
7. Rinse Thoroughly
After power washing, rinse the siding thoroughly with a garden hose to remove any remaining cleaning solution and debris. Start from the top and work your way down to prevent streaking. Ensure all soap residue is removed, as it can attract dirt and cause discoloration over time.
8. Inspect and Touch Up
Once the siding is clean and dry, inspect it for any missed spots or areas that require additional attention. Use a soft-bristle brush and cleaning solution to touch up these areas, then rinse again with the garden hose.
9. Clean Up the Area
After completing the power washing, remove the drop cloths or plastic sheeting from plants and shrubs. Rinse them with water to remove any cleaning solution residue. Return outdoor furniture and decorations to their original positions.
10. Maintain Your Siding
To keep your siding looking its best, establish a regular cleaning schedule. Depending on your climate and the level of dirt accumulation, power washing your siding once or twice a year is usually sufficient. Additionally, inspect your siding periodically for damage and address any issues promptly to prevent further deterioration.
Safety Tips for Power Washing
- Avoid Electrical Hazards: Keep the power washer away from electrical outlets and wiring.
- Use Proper Technique: Always hold the power washer with both hands to maintain control.
- Protect Yourself: Wear safety gear to shield yourself from debris and high-pressure water.
- Follow Manufacturer Guidelines: Adhere to the power washer’s operating instructions to avoid accidents or damage.
Conclusion
Cleaning your siding with a power washer is an effective way to maintain your home’s exterior and enhance its curb appeal. By following this step-by-step guide, you can achieve professional results while minimizing the risk of damage or injury. Remember to gather the necessary equipment, prepare the area, and use proper techniques to ensure a thorough and safe cleaning process. With regular maintenance, your siding will remain in excellent condition for years to come.
By investing time and effort into cleaning your siding, you not only improve the appearance of your home but also protect it from potential damage caused by dirt, mold, and mildew. Whether you’re preparing to sell your home or simply want to enjoy a cleaner, more attractive exterior, power washing is a valuable skill that yields impressive results.